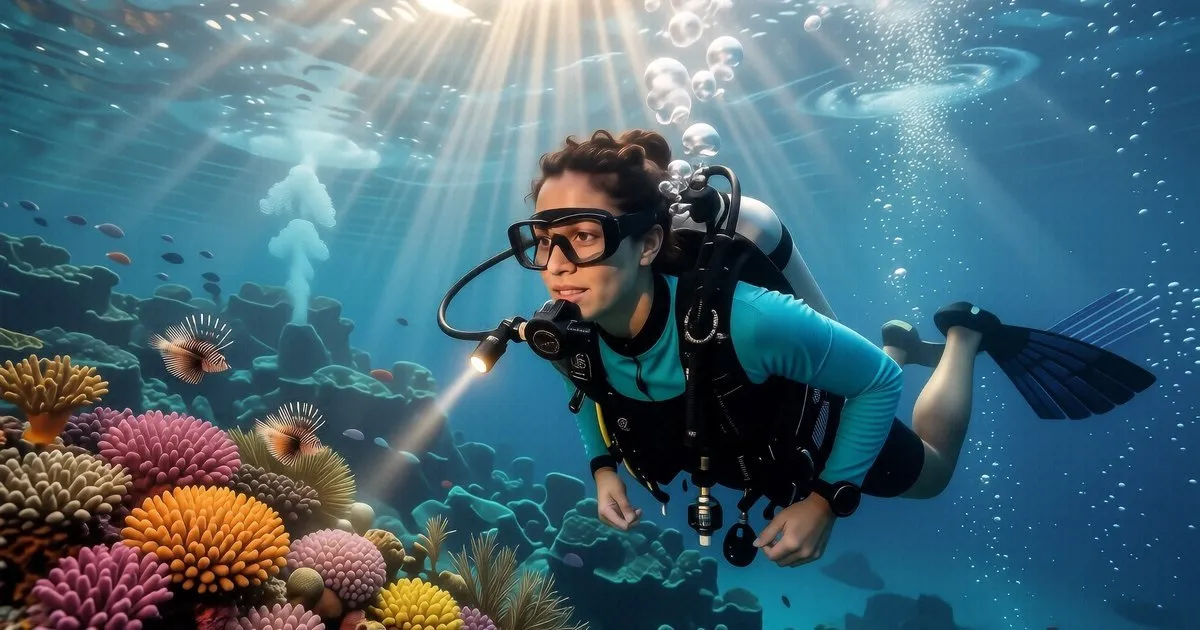
Dive torches: lumens, beam angle, mount
Understanding Lumens and Beam Spread
Lumens measure total light output. Many manufacturers claim massive numbers to attract buyers. You should look closer at the beam. A 2000 lumen light with a narrow beam is better for distance than a wide one. I learned this in 2016 during a night dive in Anilao where my light felt weak because the spread was too wide.
Beam angle matters most. A narrow beam (under 15 degrees) helps you see far away. It works well for checking cracks in coral. Wide beams (over 30 degrees) are better for general area lighting. You need both types for a good kit.
Don’t trust every spec sheet. Real-world brightness drops as the battery dies. A light might start at 1500 lumens but drop to 600 lumens after 45 minutes of use. Always check the burn-time at specific lumen settings before you buy.
Primary vs Backup Lights
A primary light is your main tool. It should be bright and heavy. Most divers prefer a handle or pistol grip for this. This design helps you maintain a steady beam during long searches. It is your lifeline in the dark.
Backup lights are different. They must be small and light. A 200 to 500 lumen wide-beam torch is perfect for a backup. You can tuck it into a BCD pocket easily. This ensures you are never in total darkness if your main fails.
Tech divers carry even more gear. Many carry two backups because they dive in high-risk environments. They often use lights with different beam patterns. This redundancy is vital for safety.
If you lose your primary, you need light immediately. A small torch allows you to find your way back to the boat. It prevents panic during a dark ascent. Always test your backup before every night dive.
Battery Types and Charging
Batteries power your underwater experience. Most modern lights use Li-ion cells. You will see 18650 or 21700 models frequently. These are standard sizes that are easy to replace. I prefer these because I can carry spares in my dive bag.
Sealed battery packs are another option. They often last longer on a single charge. However, you cannot easily fix them if they fail mid-trip. This makes them harder to use for long travel circuits. Choose based on your travel style.
Charging is also a factor. Some lights use USB-C ports directly through the housing. Others require an external charger. An external charger is often more reliable for heavy use. It keeps your light ready for the next day.
Check the battery capacity in mAh. A higher number means longer burn times. Do not forget to check your charger voltage before leaving home. A dead battery ruins a night dive quickly.
Video Lights vs Dive Torches
Video lights are specialized tools. They focus on color rendering rather than distance. Most use a very wide beam angle. This helps fill the frame of a camera lens. They often have dimming functions too.
Standard torches are for seeing. Video lights are for recording. A video light might run at 500 lumens for two hours. A primary torch might run at 1500 lumens for only 60 minutes. You must plan your dive time accordingly.
Color accuracy is key for video. Look for a high CRI (Color Rendering Index). This makes the corals look natural on screen. Most cheap torches have poor color rendering. This results in blue or green-tinted footage.
If you want to film, buy a dedicated light. A standard torch will create harsh shadows. It will also fail to fill the wide-angle view. Your footage will look amateur without proper lighting.
Mounting and Handling Styles
How you hold the light changes your dive. Pistol grips are common for primary lights. They allow you to point the beam precisely. This is useful when looking into small crevices. It feels very natural in the hand.
Handle mounts are also popular. These often attach directly to your BCD or tank. They keep your hands free for other tasks. This is helpful if you are taking photos. It reduces fatigue during long dives.
Streamlined lights are best for travel. They sit close to your body. This prevents them from snagging on reef structures. I saw many divers snag their large torches in Komodo last year. Snagging can damage the coral or your gear.
Consider your hand strength too. Heavy lights can cause cramping. A lighter torch is easier to manage. Choose a weight that feels comfortable for 45 minutes of use.
Maintenance and Safety Tips
Saltwater is very corrosive. You must rinse your light after every single dive. Use fresh water for at least five minutes. This prevents salt crystals from ruining the O-rings. O-ring failure leads to immediate leaks.
Check your seals regularly. Apply a small amount of silicone grease to the O-rings. This keeps them supple and watertight. A dry seal is a dangerous seal. Never skip this step before a dive.
Follow the safety guidelines from DAN regarding electrical equipment. While small batteries are low voltage, they can still cause issues. Keep your chargers away from water. Always inspect your cables for fraying or cracks.
If your light flickers, stop using it. This is a sign of a failing connection. It could be a dying battery or a bad seal. Replace the component before you go back in the water. Safety comes first.
Choosing Your First Kit
Do not buy the most expensive light first. Start with a mid-range primary and a small backup. This setup covers 90% of recreational needs. It is a cost-effective way to learn. You can upgrade later as your skills grow.
Look for brands with good local support. If you dive in Koh Tao, many shops sell reputable gear. You want to be able to find spare O-rings easily. This makes life much simpler during a trip.
Budget around 150 USD for a solid entry-level kit. This should get you a decent primary and a basic backup. High-end lights can cost over 500 USD. Only spend that if you are serious about photography.
Read reviews from real divers. Avoid seeing only the manufacturer’s claims. Look for mentions of actual burn times in real conditions. This gives you a much better idea of performance. Trust the community more than the ads.
If you want to try night diving, start with a guided tour in Cebu before trying it solo in open water.
Frequently asked questions
How many lumens do I actually need?
For a primary light, aim for 800 to 2000 lumens. This range allows you to see details on reef walls without blinding your buddy.
Should I buy a sealed battery or replaceable cells?
Replaceable 18650 or 21700 Li-ion cells are better for travel because you can carry spares in your luggage.